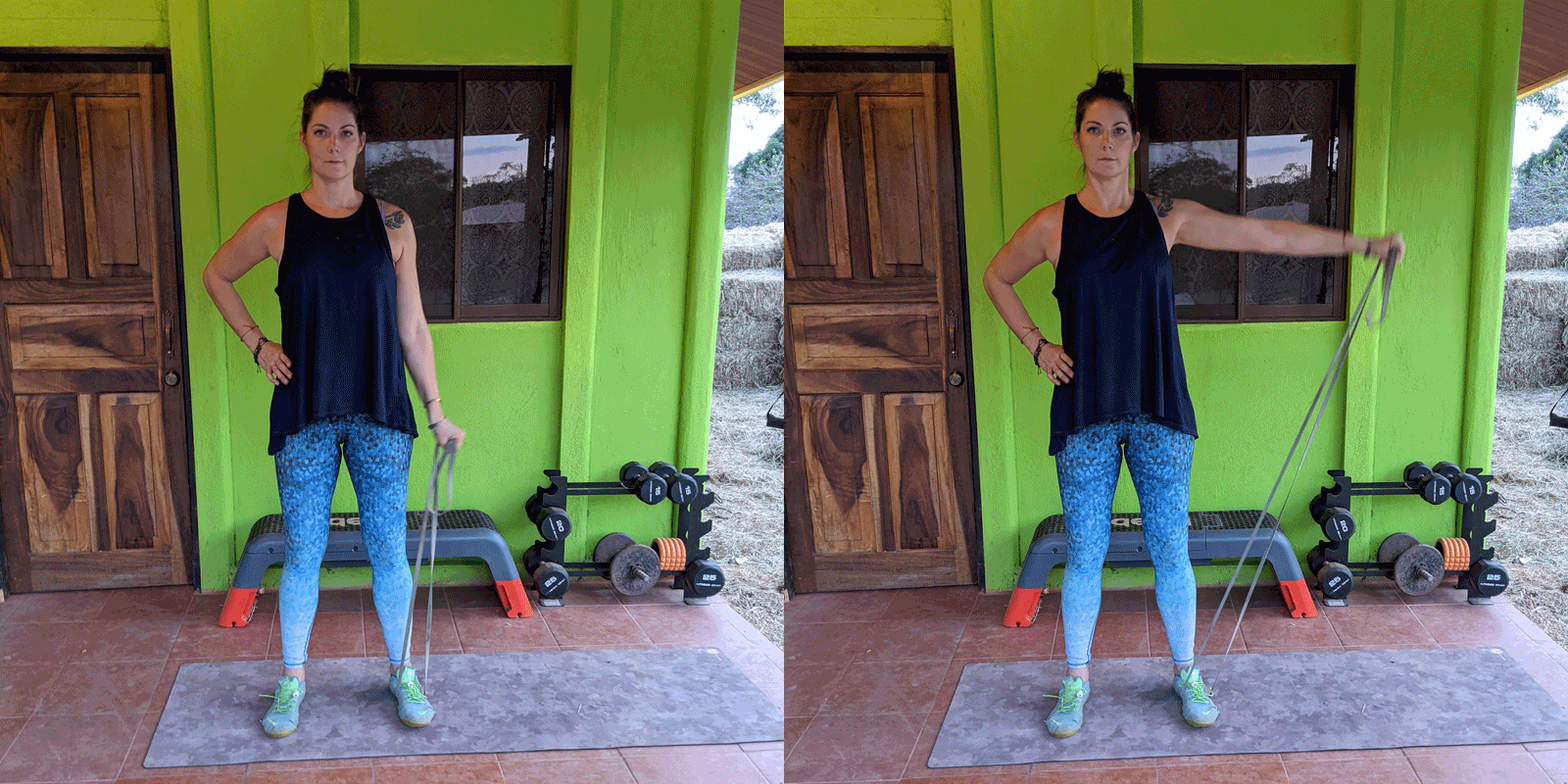
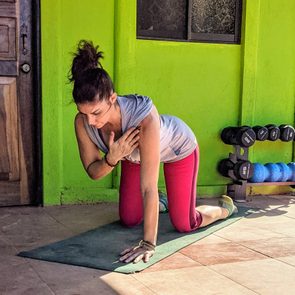
Improve Your Posture with These Rounded Shoulder Exercises
Updated: Mar. 11, 2022
Sitting at a computer all day can round your shoulders and slump your back. Fix your posture and straighten your shoulders with these simple moves.
Rounded shoulders, poor posture
Stop doing whatever you’re doing for a second and check your posture.
If you’re on your phone or computer at home, chances are your neck is tilting forward, your upper back is a little hunched, and your shoulders are rounded so your spine creates a “C” shape. This decidedly poor posture is also incredibly common, but it’s not without some significant (and painful) consequences.
The consequences of rounded shoulders
“The shoulder is a complex joint involving multiple articulations [joints] and muscles connecting our shoulder blade and humerus [upper arm bone] to our neck and mid-back,” says Jason Biondo, chiropractic physician, practicing at Palm Health in Landue, Missouri.
“When referring to rounded shoulders, we’re specifically talking about two primary parts of the shoulder girdle—the glenohumeral joint (ball and socket) and the scapulothoracic area (shoulder blade),” he says.
The problem is, persistent poor posture of the neck, upper back, and shoulders leads to muscular adaptations over time.
In the case of rounded shoulders, Biondo explains that the common result is “upper crossed syndrome,” where the muscles in the deep part of the neck and mid-back become weaker, and the muscles in the back of the neck, shoulders, and chest become tighter, pulling the shoulders forward.
And of course, the consequence of this poor posture is eventually pain.
“You know that knot you’re always trying to work out in your upper back?” asks Biondo. “Yep, it’s probably related to rounded shoulders. Over time, this can wreak havoc on the joints in your neck as well as the tendons of your shoulder.”
The trouble, of course, is that modern life sets people up for this pain. California-based chiropractor Nona Djavid even points to the rise in home-based work environments as a cause, given that more people are working in relaxed settings without an ergonomic desk or computer setups.
And she suggests that this technology-driven poor posture is further reinforced by smartphone and computer use, long hours of sitting and driving, bending over (which is especially frequent when you have young children), and sleeping in a curled position, rather than stretched out.
Working to correct the pain in daily life
The first step toward fixing rounded shoulders is to be more cognizant of the problem. “Having self-awareness is important, and when you find yourself slouching, immediately fix your positioning, or have a loved one or friend hold you accountable and tell you directly to stop slouching,” suggests Djavid.
She also points to the 20-20-20 rule as a good way to increase posture awareness when you’re forced to sit for long periods of time.
Simply set an alarm for every 20 minutes, and when the alarm goes off, check your posture, look away from your computer at something that’s at least 20-feet away, and do a stretch to “reset” your shoulders for at least 20 seconds.
Bruegger’s position
Biondo suggests trying Bruegger’s position for resetting posture when you’re at your desk. Simply sit at your desk with your feet flat on the ground, your arms hanging at your sides. In all likelihood, if you have rounded shoulders, your palms will turn backward as your shoulders round forward.
From here, simply sit up straight, tighten your core, roll your shoulders back, then squeeze your shoulder blades together, which causes your palms to rotate forward as your arms open slightly away from your sides.
Hold the position for 30 to 60 seconds, then release.
“It will have great effects at unwinding those tight muscles and activating the inhibited muscles that come with a slumped posture,” says Biondo. “Over time, you’ll find yourself naturally sitting or standing in a more upright position,” he says.
Exercises to fix rounded shoulders
There are lots of ways to correct the poor posture that’s associated with daily technology use. The main goal is to strengthen the muscles that become weak—the deep muscles of the neck and mid-back—while stretching the areas that shorten (the chest, front of the shoulders, and the back of the neck).
These four exercises are all designed to help correct these problems. Incorporate them several times a week as part of your normal workout routine.
Reverse shoulder stretch
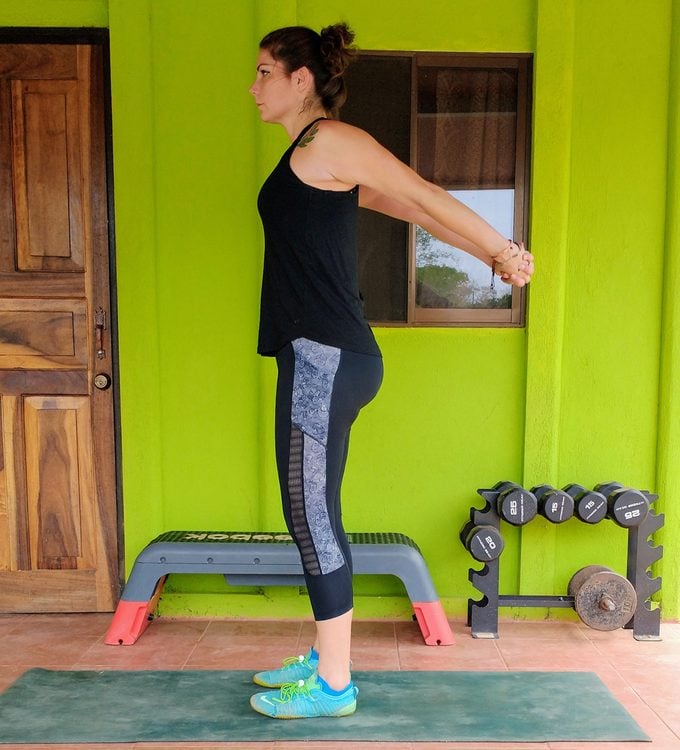
The reverse shoulder stretch is an excellent way to stretch the front of your shoulders and chest, opening up the front of the body while squeezing the upper back together.
How to do it
Stand tall, your feet hip-distance apart, your arms at your sides. Check your posture—roll your shoulders back, engage your core, and align your ear with your shoulder, hip, knee, and ankle.
Reach both arms behind you, clasping your hands together. Take a breath in, and as you exhale, lift your arms as high as you can behind you, squeezing your shoulder blades together, opening the chest so you feel a stretch across the front of your shoulders.
Hold the position, breathing deeply, for 20 to 30 seconds. Repeat two to three times.
Prone I, T, Y
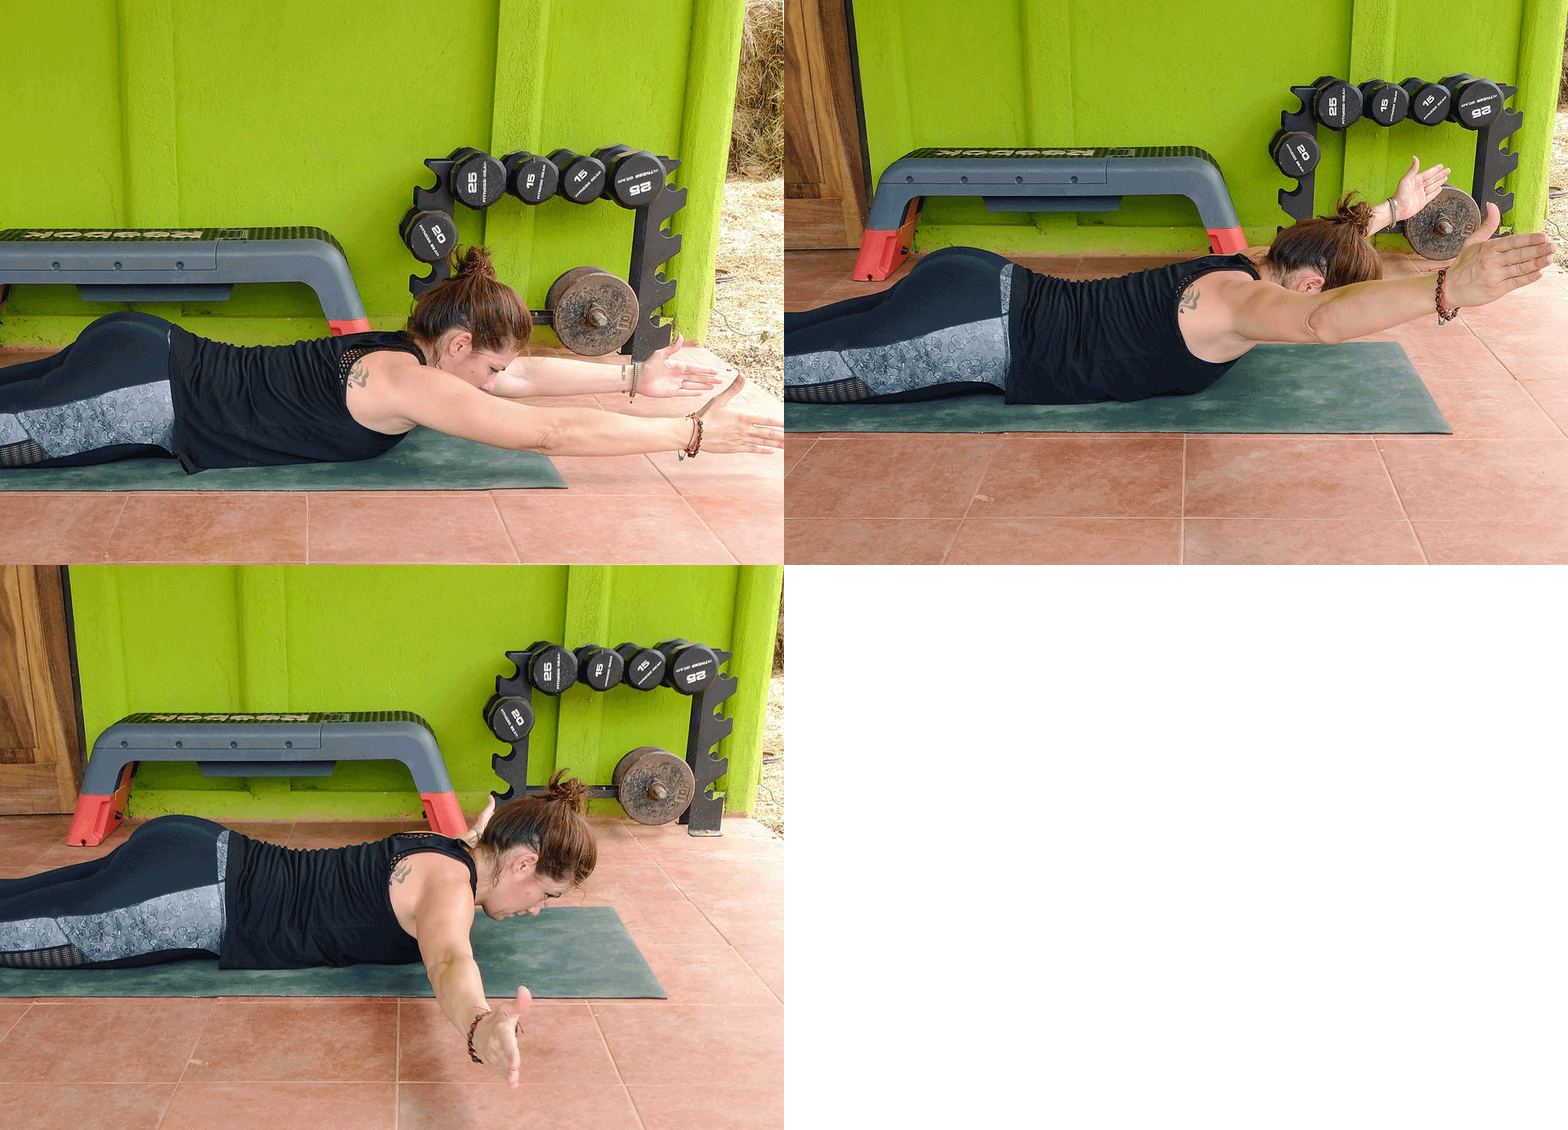
This simple-looking exercise engages the muscles of the mid-back that are often overlooked and underworked. It requires no equipment at all, but you might be surprised how hard it is.
How to do it
Lie on your stomach on a mat, with your legs extended, feet together, and your forehead on the ground or lifted slightly, so your head is hovering just above the mat. Reach your arms overhead, fully extended, with your fingertips pointing forward, your thumb pointing up.
From this position, keeping your head stable, squeeze your shoulder blades together and lift your arms as high as you comfortably can away from the mat. Hold for a beat, then lower back to the mat. Repeat 10 times in this “I” position.
Move your arms so they’re pointing approximately 45-degrees from your torso as though you’re forming a “Y.” Your thumbs should once again be pointing upward so your hands are perpendicular to the floor.
As you exhale, squeeze your shoulder blades together and lift your arms as high away from the mat as you can. Hold for a beat at the top, and lower your arms back to the mat. Repeat 10 times in this “Y” position.
Finally, move your arms so they’re pointing directly out from your shoulder in a “T” position, your thumbs still pointing upward. Perform the exercise again, lifting your arms away from the ground as you exhale, squeezing your shoulder blades together, before lowering your arms back to the mat. Repeat 10 times in this “T” position.
After, perform 10 reps in each position, rest, then repeat the exercise two more times.
Scapular wall slides
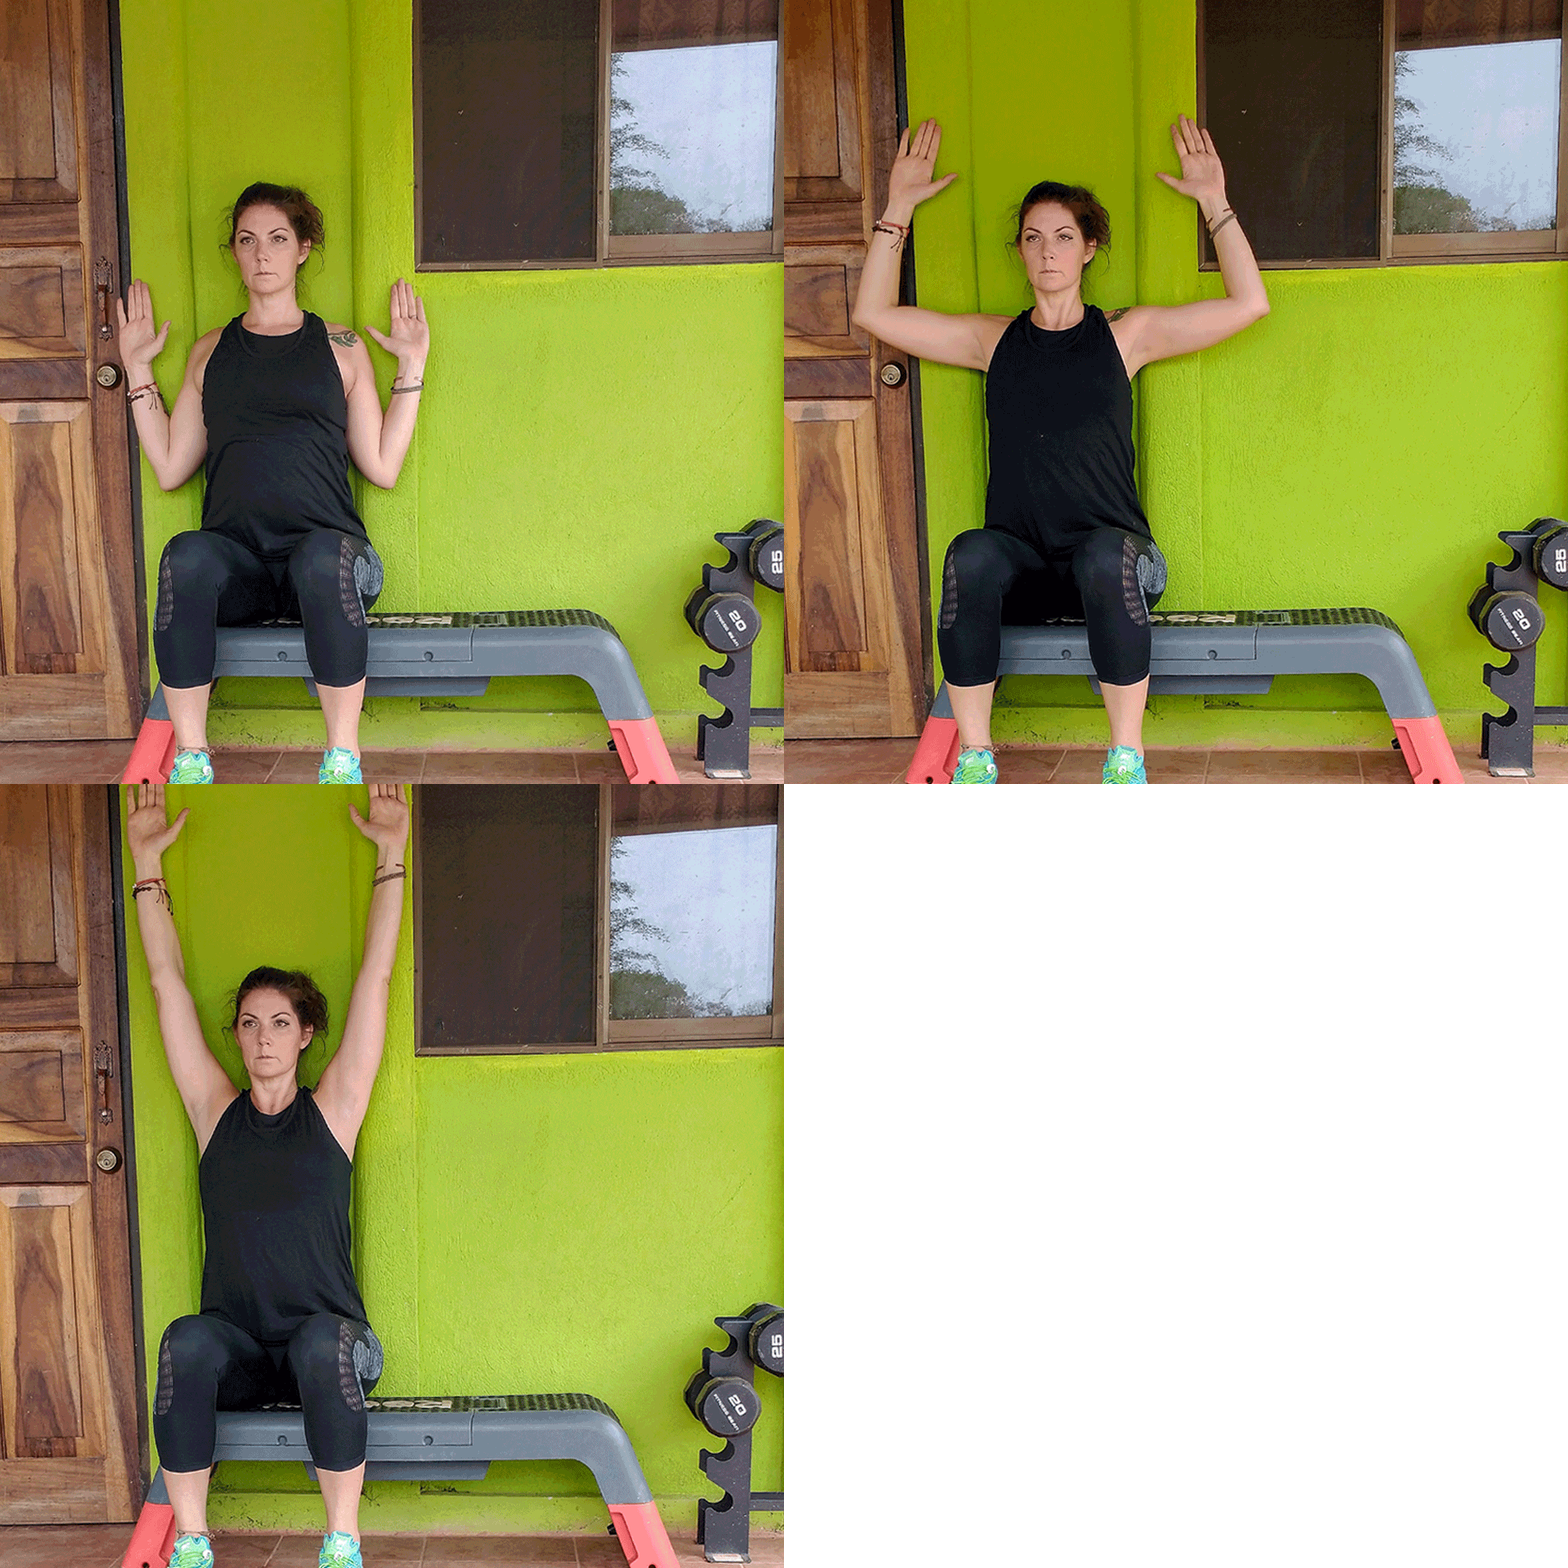
Scapular wall slides are a great way to train the muscles of your mid-back to engage and strengthen through a full range of motion while extending your shoulders overhead. You may realize while trying the wall slides that your range of motion has been limited by poor posture, making this motion difficult.
Perform the exercise through the range of motion you can comfortably move. With time and practice, your range of motion will likely improve.
How to do it
Sit in a sturdy chair in front of a wall so your back is against the wall. Place the back of your hands against the wall on either side of your shoulders. This will help you start with proper posture—your shoulders back, shoulder blades drawn in toward the spine, your chest open and tall.
Keeping your torso steady, extend your arms overhead, sliding the back of your hands up the wall. Try not to let them come off the wall at any point in the exercise, instead, working to engage your mid-back to pull your scapula in, keeping your hands against the wall.
When you’ve extended your arms fully overhead, reverse the movement and slide your arms back down the wall to the starting position.
Perform 10 repetitions, completing a total of two to three sets.
(This is what shoulder blade pain could mean.)
Bird dog
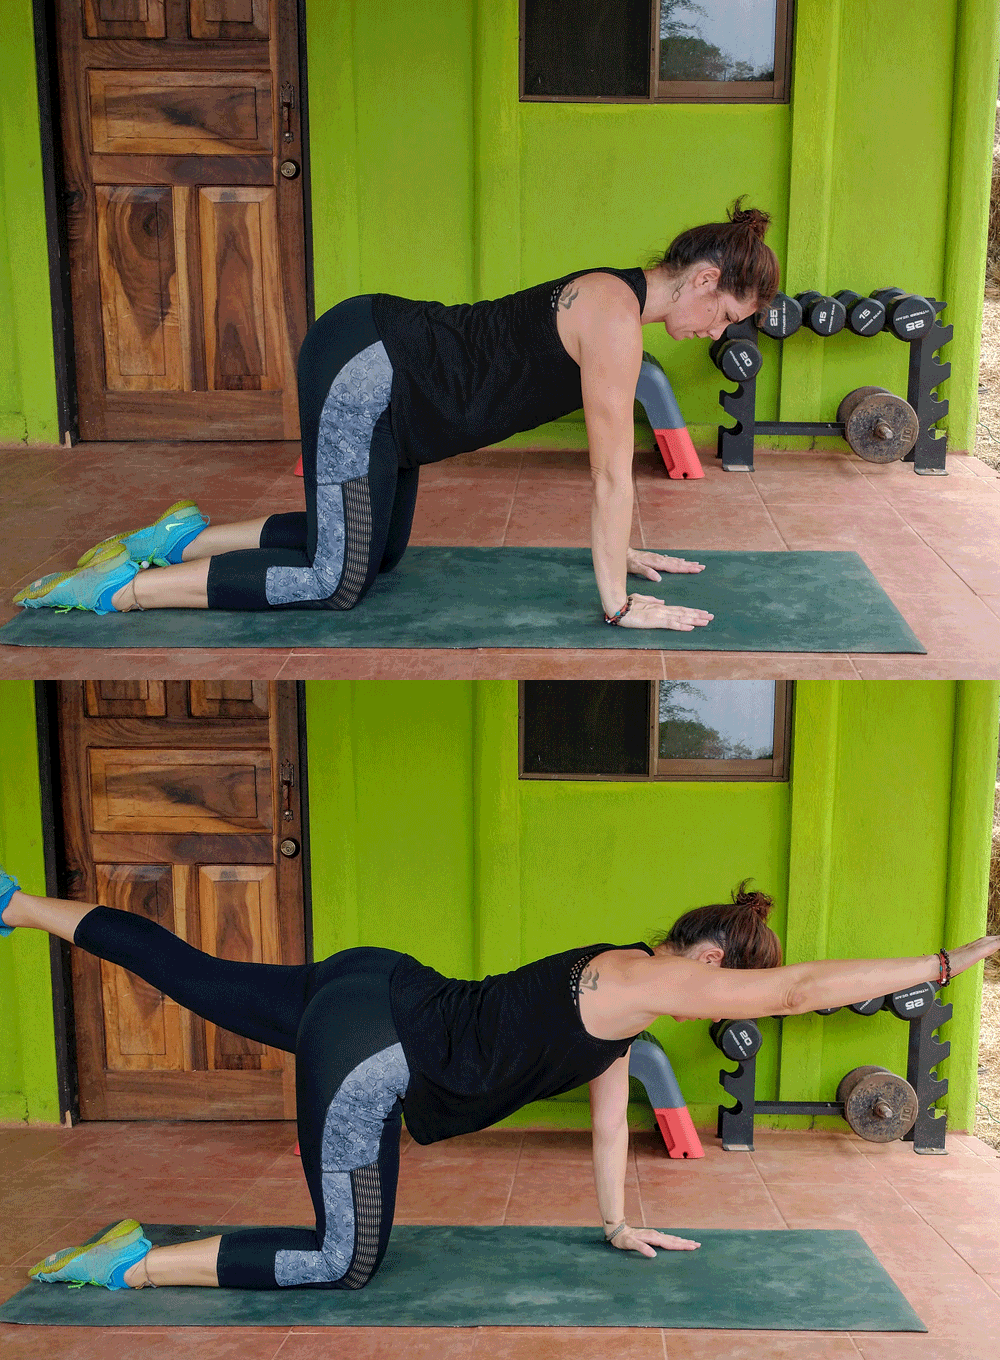
The bird dog exercise is an excellent option for strengthening the entire posterior chain, including the back of the shoulders, mid-back, core, and spinal erectors.
How to do it
Start on your hands and knees on a mat, your palms under your shoulders, your knees under your hips. Engage your core, making sure your body forms a straight line from your tailbone to the top of your head.
Keeping your torso steady, lift your right arm and left leg simultaneously, extending your arm forward from your shoulder and your leg backward from your hip as you use your posterior chain (the muscles on the backside of your body) to perform this extension.
When your arm and leg are completely straight, hold for a beat, then return them to the floor. Repeat the exercise to the opposite side.
Complete a total of 15 to 20 repetitions per side and perform two to three sets.
Next, these are the best core exercises you need to try.


